

TL;DR:
- Table hockey uses five rods per side, each controlling specific player positions.
- Key positions include goalie, defensemen, center forward, and wingers, each with distinct responsibilities.
- Mastering position transitions and rod control enhances strategic play and competitiveness.
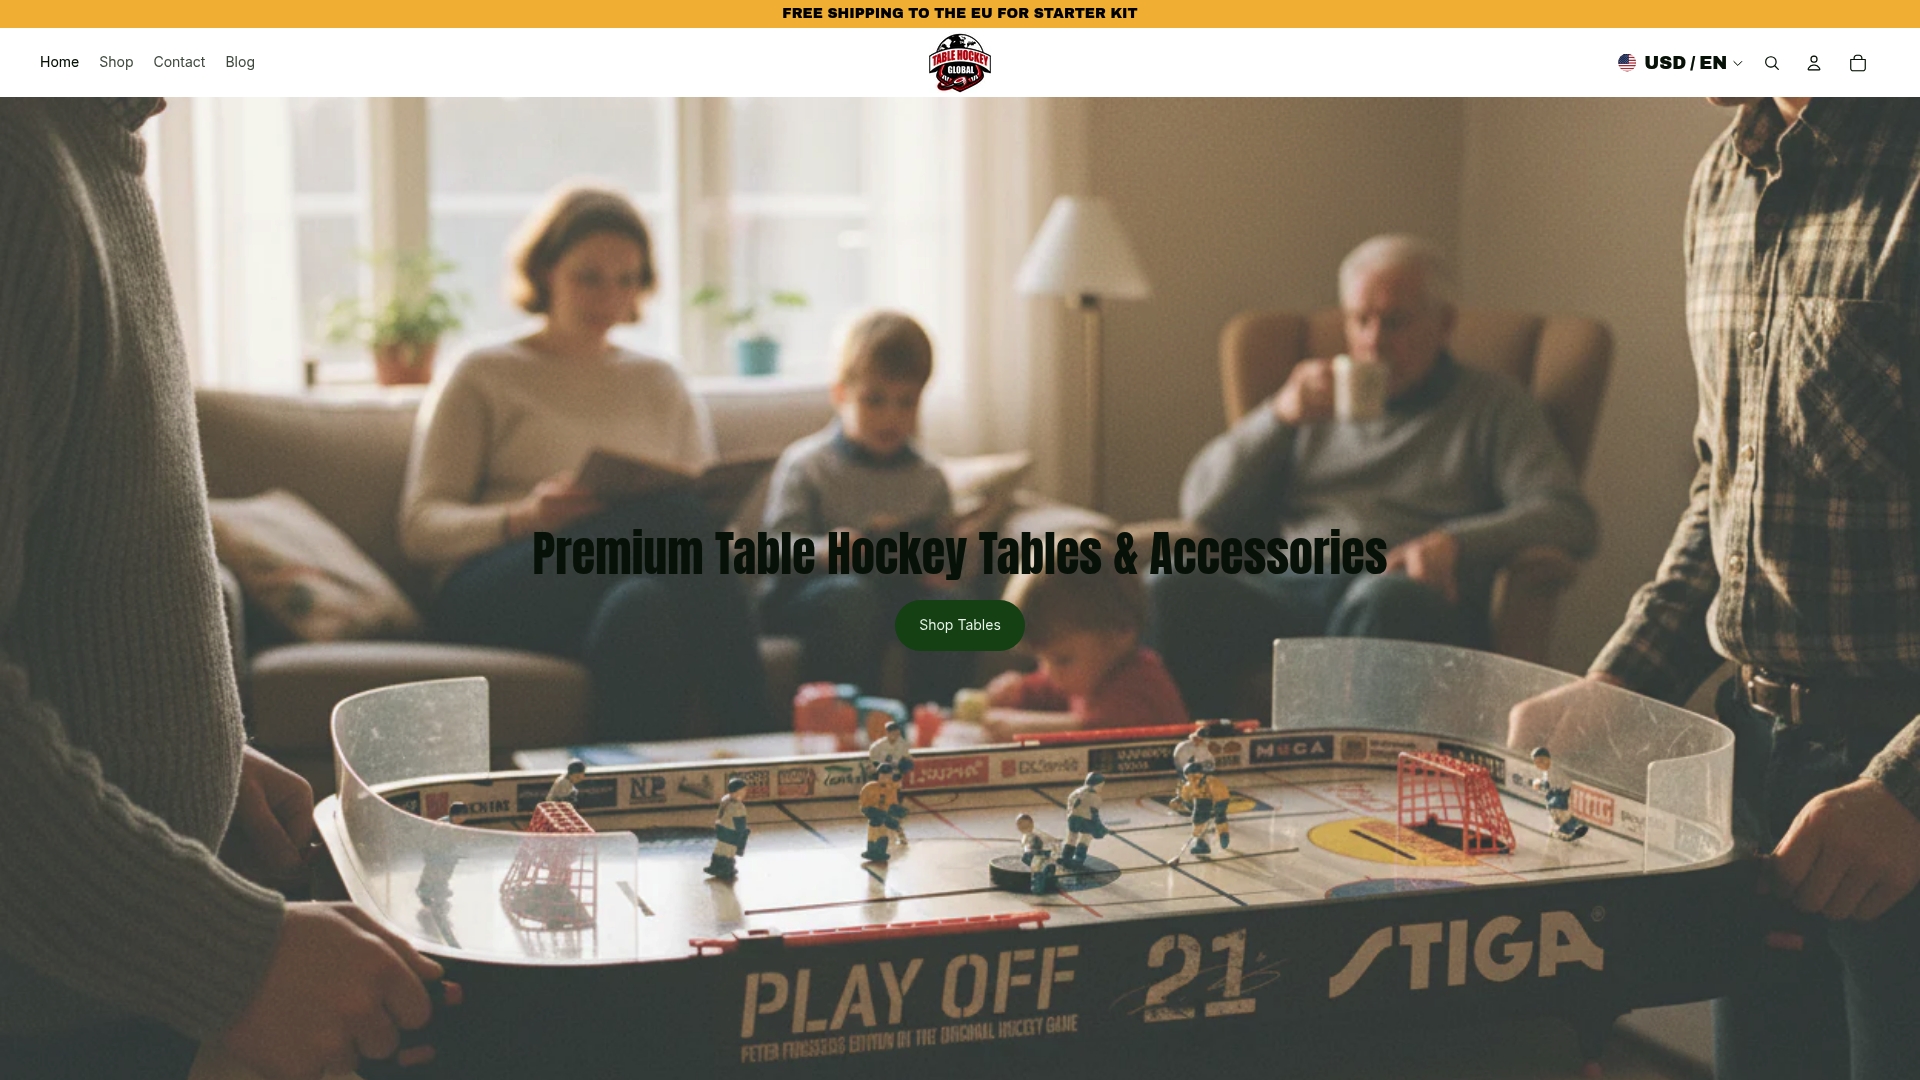
Knowing which rod controls which player is the difference between reacting and playing with intent. Table hockey uses 5 rods per side, each linked to specific positions on the ice. Six roles total: goalie, left defenseman, right defenseman, center forward, left winger, and right winger. Each one has a job. Each one requires a different skill set. This article maps every position to its rod, breaks down responsibilities, compares strengths, and gives you practical tips for every level of play, from first-time players to those competing in organized leagues.
Table of Contents
- Understanding all table hockey playing positions
- The role of the goalie and defenders
- Center and wingers: controlling the attack
- Comparing positions: strengths, teamwork, and strategic play
- Why mastering position transitions transforms your table hockey skills
- Take your table hockey skills further with expert resources
- Frequently asked questions
Key Takeaways
| Point | Details |
|---|---|
| Six key positions | Mastering all six positions and understanding rod controls is the foundation for success in table hockey. |
| Defense wins games | Effective use of the goalie and defense rods is essential for blocking shots and preventing goals. |
| Face-off mastery | Strong center forward and winger coordination boost your results during face-offs. |
| Strategic transitions | Learning to switch quickly between defense and offense is a game-changing skill for all players. |
| Teamwork leads to victory | Team play and position synergy are crucial for winning matches and climbing the rankings. |
Understanding all table hockey playing positions
Table hockey, as governed by ITHF rules, uses 5 rods per side controlling specific player positions. Each rod slides and rotates to move your players. Understanding which rod does what is the first step toward playing with real control.
Here is a quick breakdown of the five rods and the positions they control:
| Rod | Position(s) controlled | Primary function |
|---|---|---|
| Rod 1 (closest to your net) | Goalie | Shot blocking, net coverage |
| Rod 2 | Left and right defensemen | Clearing, blocking, transitions |
| Rod 3 | Center forward | Face-offs, midfield control |
| Rod 4 | Left and right wingers | Offensive pressure, shooting |
| Rod 5 | Secondary attackers | Additional offensive support |
Every player on your side of the table connects to one of these rods. You cannot move a player independently of its rod. That constraint is what makes position awareness so important.
Here is what each position is responsible for:
- Goalie: Stops shots. Positioned in front of your net. Controlled by Rod 1.
- Left defenseman: Covers the left side of your defensive zone. Blocks passes and shots coming from the right side of the opponent’s attack.
- Right defenseman: Mirrors the left defenseman on the opposite side.
- Center forward: Controls the middle of the ice. Participates in face-offs. Bridges defense and offense.
- Left winger: Attacks from the left side. Creates shooting angles.
- Right winger: Attacks from the right side. Applies pressure near the opponent’s net.
For beginners, understanding team roles explained in detail helps connect these abstract positions to real in-game decisions. Once you know the layout, focus on gripping rods for control so your physical technique matches your positional knowledge.
Start simple. Learn one rod at a time. Most beginners improve fastest by mastering the goalie and center rods before moving to wingers.
The role of the goalie and defenders
Defense is where games are won and lost. Controlling defense rods to block shots and using the goalie for saves is the foundation of solid table hockey play.

The goalie has one job: stop the puck. But execution requires more than just sliding the rod left and right. Positioning matters. A goalie centered in the net covers more angles than one pushed to a side. Against diagonal shots, a slight pre-position toward the shooting side reduces the open gap.
The defensemen work as a pair. Their main tasks:
- Block passing lanes between the opponent’s center and wingers
- Clear the puck from your defensive zone after a save
- Cover the slot (the area directly in front of your net)
- Intercept cross-ice passes before they reach the winger rods
- Transition quickly from blocking to pushing the puck forward
For beginners, the most common mistake is leaving the defense rod in a neutral position. Flat defense is easy to shoot around. Angling your defensemen slightly toward the most likely shot path closes gaps without over-committing.
For competitive players, advanced defensive tactics go beyond simple blocking. Timing your defense rod movement to bait the opponent into a predictable shot is a skill that takes practice. You can also review defensive penalty tips to avoid common rule violations while playing aggressively.
Pro Tip: After your goalie makes a save, immediately slide the defense rod forward. This moves your defensemen into position to receive a clearance pass and launch a counter-attack. Most beginners pause after a save. That pause costs possessions.
The defense rods also serve as a reset point. When you are under pressure, pulling both defensemen back and centering the goalie creates a compact wall that forces the opponent to try lower-percentage shots from wide angles.
Center and wingers: controlling the attack
Offense in table hockey runs through the center and the wingers. These three positions are your primary scoring threats, and each has a distinct role in building and finishing attacks.
The center forward is the most versatile position on the table. Responsibilities include:
- Winning face-offs at the start of each period and after stoppages
- Moving the puck from the defensive zone into the offensive zone
- Setting up shots for the wingers by drawing defenders out of position
- Retreating to support defense when the opponent gains possession
- Taking direct shots from the center lane when the goalie is out of position
Face-offs are a critical moment. Face-offs involve center forwards staying on their own side of the center red line during the drop. Violating this rule gives possession to the opponent. Knowing the competitive face-off techniques used at the top level can give you an immediate edge in possession battles.
“Winning the face-off consistently is not about speed alone. It is about reading the drop and pre-positioning the center rod to intercept the puck before the opponent reacts.”
The left and right wingers operate from the outer lanes. Their job is to create shooting angles the goalie cannot easily cover from the center. A shot from a wide angle on the right side forces the goalie to move laterally, opening space on the left side for a follow-up attempt.
Winger play becomes more effective when you coordinate rod movements. Slide the center rod to draw attention, then shift to the winger rod for the shot. This two-rod coordination is one of the first real offensive strategies beginners should practice. It requires no advanced technique, just awareness of how positions interact.
Flexibility matters too. In table hockey, a winger that stays wide at all times is predictable. Moving the winger rod inward occasionally creates confusion and opens new passing options through the center lane.
Comparing positions: strengths, teamwork, and strategic play
Each position has specific strengths. Knowing them helps you decide where to focus your practice time and how to adapt your strategy mid-game.
| Position | Key strength | Main weakness | Best used when |
|---|---|---|---|
| Goalie | Shot stopping | No offensive role | Opponent is attacking |
| Left defenseman | Left-side coverage | Limited range | Blocking wide shots |
| Right defenseman | Right-side coverage | Limited range | Blocking cross-ice passes |
| Center forward | Versatility | Spread thin | Transitioning play |
| Left winger | Wide shooting angles | Narrow lane | Creating diagonal shots |
| Right winger | Right-side pressure | Narrow lane | Forcing goalie movement |
Competitive matches last 5 minutes with sudden death overtime, and possession rules prevent stalling. That time pressure means you cannot specialize in only one position. You need to manage all five rods efficiently.
Here is how teamwork between positions drives results:
- Defense to center transition: After a defensive clearance, the center rod should already be positioned to receive the puck in the neutral zone.
- Center to winger combination: Use the center to pull the opponent’s defense inward, then release to a winger for a wide shot.
- Winger to center cutback: If the winger is blocked, sliding the puck back to the center opens a direct shot lane.
- Goalie to defense outlet: After a save, a controlled pass to the defense rod starts a clean possession break.
For players looking to move beyond basics, studying advanced player positions reveals how top competitors chain these transitions into repeatable patterns. Tracking your own results using competitive match stats helps identify which positions need the most work.
Choose one position to focus on each practice session. Rotate through all six over time. This builds balanced skills faster than trying to improve everything at once.
Why mastering position transitions transforms your table hockey skills
Most players treat offense and defense as separate problems. They practice shots. They practice saves. But the real skill gap between average and strong players is in transitions, the moment when defense becomes offense and back again.
Top nations in table hockey, including Latvia and Sweden, consistently train players to move fluidly between defensive and offensive rod control. Their players do not pause after a save or a clearance. The transition is already in motion before the puck settles.
Reactive play is the default for beginners. You wait for the opponent to act, then respond. Proactive play means your rods are already positioned for the next phase before the current one ends. That shift in mindset is what separates casual players from competitive ones.
Practice this: set up a drill where you alternate between blocking a shot with the defense rod and immediately pushing the center rod forward to receive the clearance. Repeat it until the motion is automatic. Tracking your progress alongside national strategies used by leading countries gives useful context for where your game can go.
Pro Tip: Practice rapid scenario switches. Block a shot, clear it, and set up an attack in under two seconds. Time yourself. Speed in transition is a trainable skill.
Take your table hockey skills further with expert resources
Ready to put these insights into practice? Table Hockey Global brings together players at every level, from first-timers learning the rods to seasoned competitors refining their transitions.
The Table Hockey Global homepage is your starting point for step-by-step guides, player insights, and community tools built for real skill development. If you want to go deeper on roles and responsibilities, the detailed team roles guide covers every position with practical breakdowns. For players ready to push further, advanced play strategies provides the next level of tactical knowledge. Join the community, connect with other players, and keep building your game one position at a time.
Frequently asked questions
How many playing positions are there in table hockey?
There are six positions: center forward, left winger, right winger, left defenseman, right defenseman, and goalie. All six are controlled by 5 rods per side.
What does the center forward do in table hockey?
The center forward handles face-offs, leads offensive plays, and can retreat to support defense. Face-offs require the center to stay on their side of the red line during the puck drop.
What are the keys to playing defense in table hockey?
Controlling defense rods to block shots and making quick saves with the goalie are the two core skills. Angling the defense rod toward likely shot paths closes gaps more effectively than neutral positioning.
How long are competitive table hockey matches?
Competitive matches last five minutes, with sudden death overtime used to decide tied games. Possession rules also prevent players from stalling during regulation time.
Which countries lead in international table hockey rankings?
Latvia and Sweden are consistently top performers in international table hockey rankings and are known for strong transition-based training programs.
Recommended
- Table hockey team roles: guide for players and fans – Table Hockey Global
- Table hockey statistics guide: players and fans 2026 – Table Hockey Global
- Master advanced table hockey play: skills and strategies 2026 – Table Hockey Global
- Top table hockey trends transforming play in 2026 – Table Hockey Global